 |
| Rust-printed cloth and sashimi stitching |
The hardest part of rust printing is building a stash of rust pieces. The rest of the process is pure experimentation and joy. In fact, collecting rust can be a joyous process in itself. My personal stash of rust has been assembled over the past forty years during walks through industrial districts and combing for junk while strolling along railroad tracks.
The Process
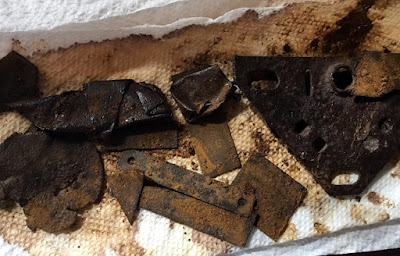 |
| Rust pieces |
There are a number of slight variations on the rust-printing process you can find through googling. After experimenting, I found the simplest to be best:
• Prepare a 50/50 mix of white vinegar and water in a spray bottle.
• Lay down a protective layer of plastic (I used cut-up recycled plastic bags), and reserve an equal amount of plastic to use as a top layer to keep the whole thing moist while the rusting magic goes on. Arrange a layer of cloth or paper. Spray all of this generously with your vinegar mix.
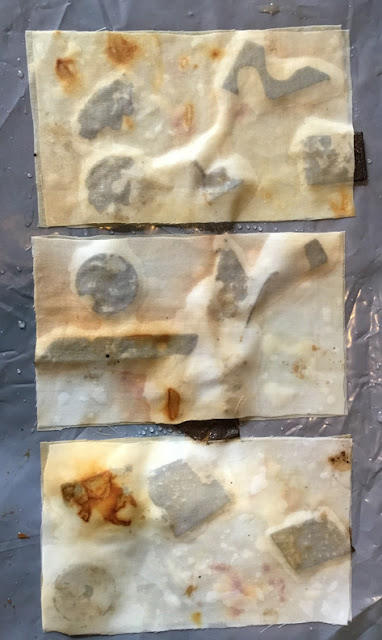
 |
| Rust between cloth soaked in vinegar and water |
• Arrange your rust pieces on the cloth or paper. This gives you an illusion of control, but don't kid yourself – the best part of rust printing is that the results are always a surprise. Spray everything again with your vinegar mix.
 |
| Rust doing its magic |
• Put down a top protective layer of plastic, and weight the whole thing down with stacks of books (you are going for maximum contact between the irregularly shaped rust and the material being dyed). It has occurred to me that the ideal way to weight things down would be malleable bags of sand, but I haven't tried that yet.
• At the end of the process, simply wash your dyed cloth thoroughly in a basin of soap and water.
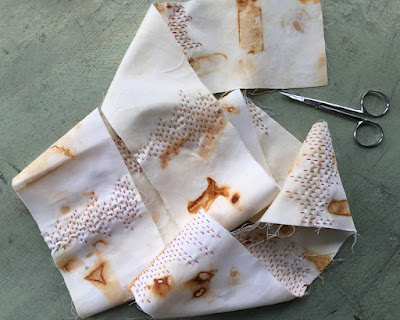
Rust-Dyeing Cloth
Here you can see the results of rust-dyeing the index-card-size strips of cloth shown above. Note that those process photos are showing a technique using a piece of cloth both below and on top of the rust pieces. It is a handy way to double your output, but for all other projects below I stuck with one layer and the protective sheet of plastic, which always goes on top no matter how many layers you have.
This project involves creating another of the pieces I have started calling "
spirit cloths," for lack of a better explanation. Making them has become a compulsion.
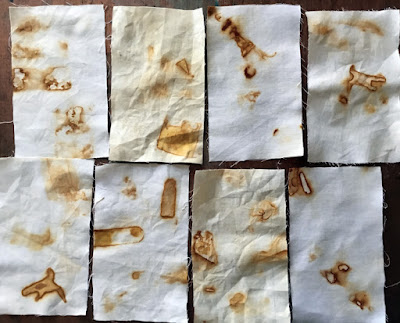 |
| Freshly dyed cloth panels |
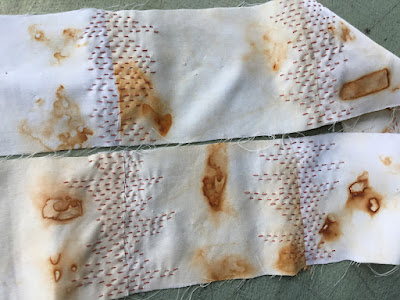 |
| Panels sashiko-stitched together to become spirit cloth |
Paper
Since I was already using index cards as templates for cutting out pieces for the spirit cloth, I figured I may as well experiment with directly printing on the cards themselves. The results were so evocative that I turned to my archives of vintage books containing copyright free images to create a few vaguely cosmic collages.
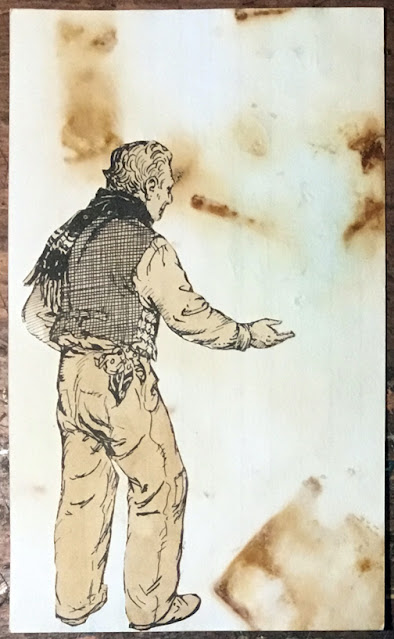 |
| "Space cowboy" |
 |
"Playing with the matter of the universe"
(or: How were you picturing a higher power?) |
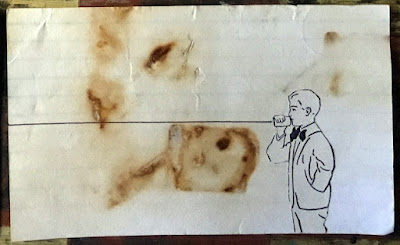 |
| "Galactic communication" |
Rust-Dyed Clothing
And finally (for now) we have rust-dyeing on up-cycled thrift store clothing. This is a standard man's business shirt, with the collar removed (carefully pick out original stitching, remove collar, restitch closed). The trick here was to do it in sections and to use weights to hold the shirt in place so the whole mess didn't go sliding off the table. I restricted the dyeing to the bottom edge of the shirt. That dye creeping up the front placket was an unexpected, but not unwelcome accident.
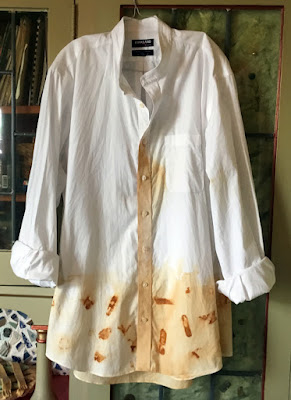 |
| Shirt front |
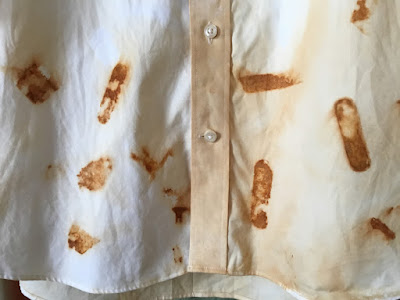 |
| Shirt front detail |
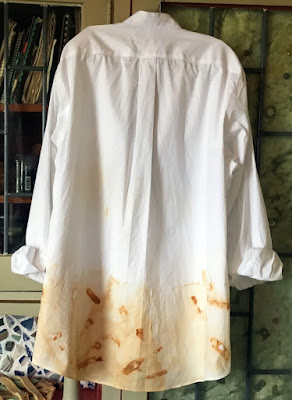 |
| Shirt back |
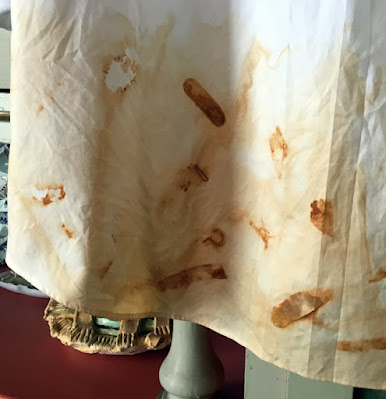 |
| Shirt back detail |
Hopefully this will inspire you to do some experimenting of your own, and to wander down gritty alleyways and old barns looking for rust. Your house will stink of vinegar, but who gives a damn?


Luv your process...and the shirt is awesome!
ReplyDelete