Showing posts sorted by date for query fused plastic. Sort by relevance Show all posts

Saturday, October 8, 2022

Fused Plastic Desk Lamp Shade

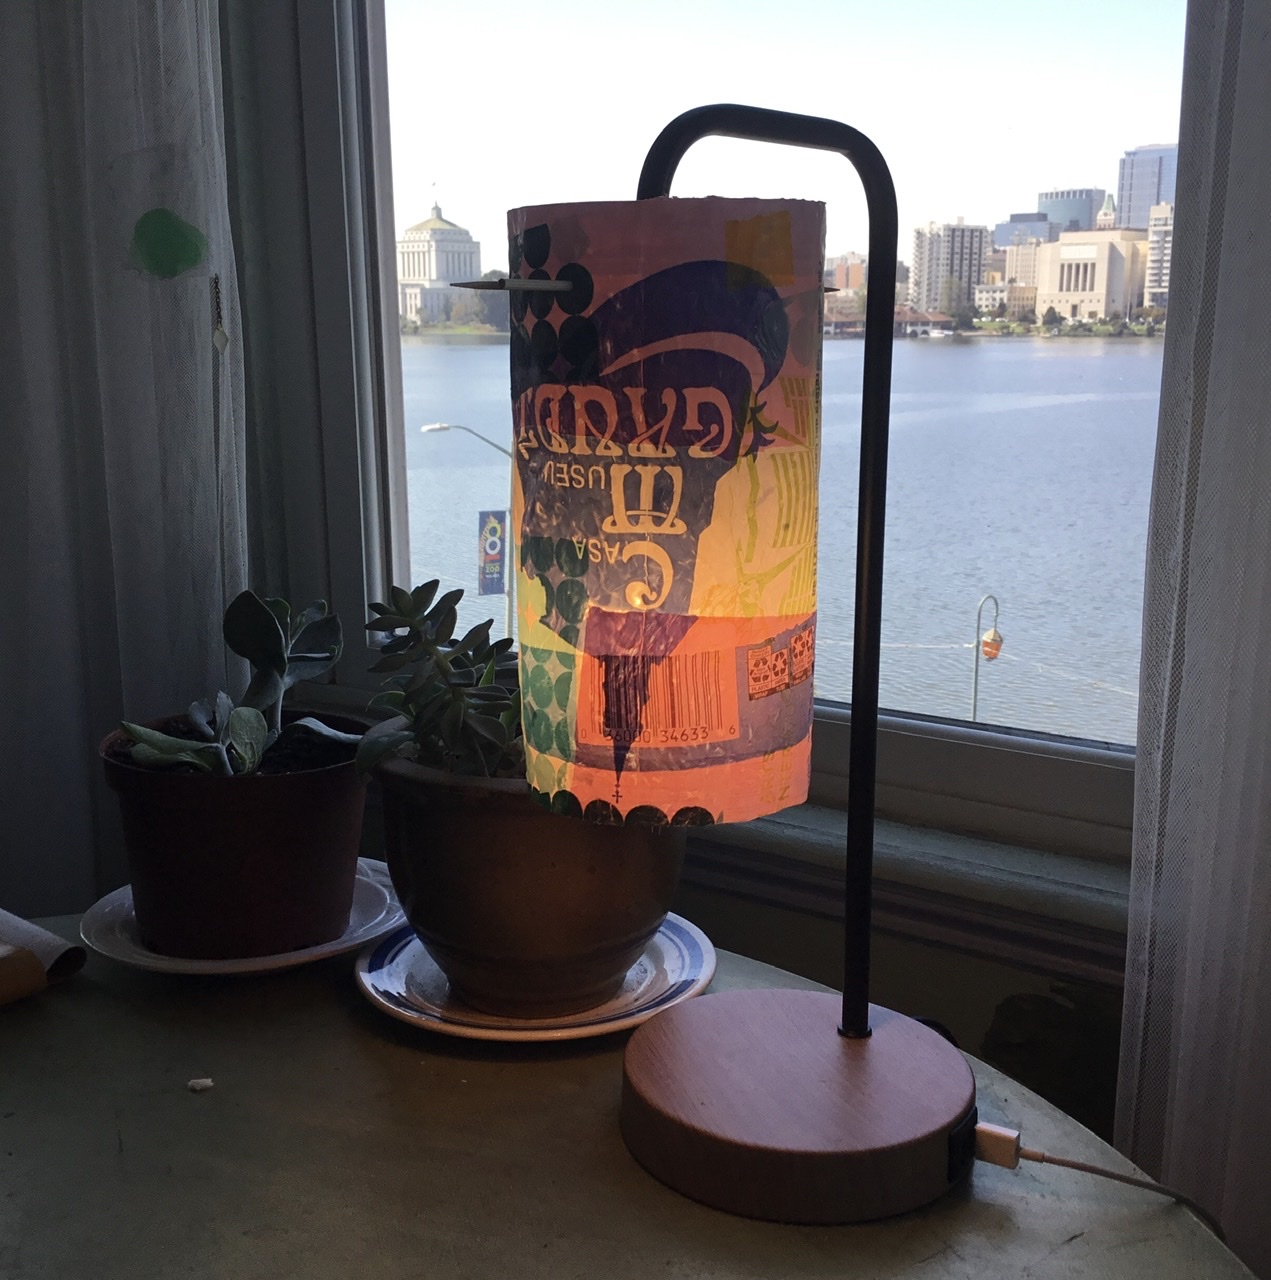
Gaudi lampshade

As Frank Zappa knew all too well, necessity is the mother of invention, and it can lead to some fun experimentation. When I bought this lamp from Amazon, I was going for the two USB ports built into the base as well as its dimming capabilities, and found the vaguely Edison, science-lab appearance appealing.
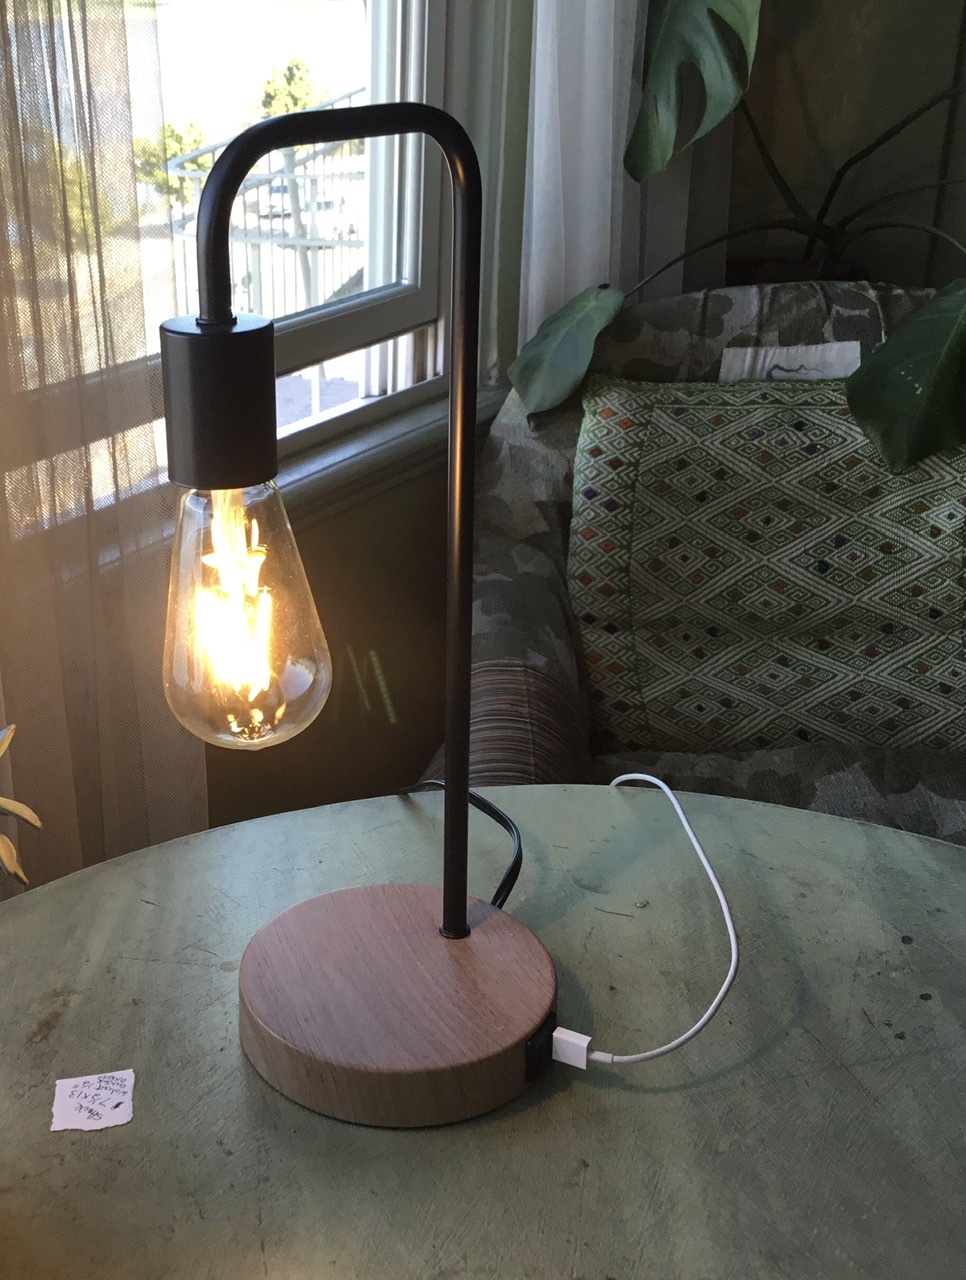


In practice, the bare bulb delivered a raw, unpleasant level of glare no one would want in their home. Instead of spending a half hour returning it, I decided to spend around five figuring out how to solve the problem.

I have posted about past experiments with Fused Plastic any number of times on this blog, in projects from  bunting bombing, to wildly frilly aprons, to Barbie survival gear, to Chinese Lanterns. If you follow the link you will find how-to tips for getting started on your own fused plastic experiments. Happily, my own experiments have resulted in a huge bag of promising plastic wrapping. This project incorporates a gift bag from the Gaudi Museum in Spain along with two different wrappings for toilet paper in bulk and a couple of clear vegetable bags to give thickness and strength.

The Gaudi on the lake


The How-To:


Measure, measure, measure. Make several stupid mistakes. Learn from them. And the solution is to use a strip of stiffer plastic (cut from some ribbed plastic shelf liner I have for some unknown reason) at top and bottom to hold the cylindrical shape, glued in with clear silicone sealant. Two wood skewers normally used for something like Chicken Yakitori are cut to size and inserted (after a lot more measuring) so that the shade balances perfectly atop the lamp.

The how-to


And there you have it. A lovely fused plastic lampshade that, while helping to save the planet, will also charmingly light up my life.


Thursday, April 4, 2019

Fused Plastic Chinese Lantern Restoration


Antique lantern with fused plastic panels

Welcome back to what is apparently a lifelong project: creative restoration of an antique Chinese lantern. To see and read more about earlier versions of this lantern, see Chinese Lantern Backstory. To see a range of pieces I've done by ironing recycled plastic bags together, see Fused Plastic.

Originally pieced together from a crate of broken pieces salvaged from an Asian arts store, the lantern is delicate and a bit rickety. This is the third time since I've owned it that I have had to replace all of the panels. The panels from the last rendition, also fused plastic, had faded from vivid colors to a dull milky white.  Below, the repair begins. You can see the old, faded panels still on the lantern.

Under repair
The next series of photos offer a revolving view of the latest restoration and the new fused plastic panels.

Restored - View A

Restored - View B

Restored - View C

Restored - View D

At this point, you may be sated and should feel free to wander away. For those intrigued by what you can do by fusing plastic bags together with a little judiciously applied heat from your iron, stick around. Below are details of each of the panels.

Bottom 1

Bottom 2

Bottom 3

Bottom 4

Bottom 5
And here are some top panel details.

Top panel 1

Top panel 2

Top panel 3

Top panel 4

Add caption

For those who have waded through all of these images, here is a quickie, dead-simple tutorial on making your own fused plastic:

1. Collect colorful, interesting plastic bags, plastic wrappings, plastic whatever. But save the plain plastic too; you'll need it for your bottom layers.

2. You will need a minimum of four layers of plastic for the panel to have any strength. Throw extra decorations on top.

3. Set iron to fairly high, no steam. 

4. Lay out a plain sheet of paper on your work table.  Assemble your plastic panel on that sheet of paper. Lay another plain sheet of paper on top. Iron, pressing firmly. How long? I don't know - hum to yourself for a while.

5. When done, peel away the top and bottom layers of plain paper. Sometimes the plastic sticks to the paper. If so, pat it back down and iron a little more. Sometimes the paper sticks to the plastic and tears away. If so, take the plastic to the sink and use water and your fingers to rub away the paper.

And if I am still around in seven years, you will get to see an entirely new rendition of this lantern.


Tuesday, November 24, 2015

Fused Plastic Soft Sculpture: The Bruja Apron


Fused Plastic Bruja Apron

A second fused plastic soft sculpture - the Bruja Apron. Bruja means witch or medicine woman in Spanish. The first fused plastic sculpture was The Betty Apron, which was all sweetness and light. This apron takes a walk on the dark and mysterious side.

Front detail

The apron is fashioned from fused plastic bags, stitched and appliquéd to form the apron.

Detail

Back view

Detail

Back button detail

Detail

Scroll through the fused plastic category on this blog to see other fused plastic creations, from shoes to a maker project on pop-up banner installations, to lanterns, to Barbie clothes.

Monday, November 16, 2015

Fused Plastic: The Betty Apron


Meet Betty: back view

This is what I am calling a "fused plastic soft sculpture." The apron theme was inspired by the wonderful apron-making ladies of San Miguel del Valle. This piece was intended to go entirely another way, but I discovered fused plastic has a mind of its own. The fusing of old plastic bags created an assortment of new plastic textile pieces. I then fused or stitched those pieces together to create the sculpture.

Fused plastic textile detail

Detail

The Betty: front view

Close-up: sampling of plastic textiles

Plastic fused textile; sewn-on plastic circles

Delicate frill: scraps of colored plastic fused between thin produce bags

Fused plastic textile

Sunday, September 29, 2013

Seaweed Experiment: Stitching Seaweed


Click to enlarge - see stitching along edges

During a recent foray to Mortuary Beach in Carmel, after oohing and aahing over gorgeous samples of dry and wet seaweed the question occurred: Can you sew seaweed? The answer is a resounding yes.

Black stitching sewing together pieces of wet, rubbery seaweed

Seaweed turns out to be one of the more pleasurable materials to sew. It's soft enough so that your needle pierces the stuff easily, yet has enough rubbery body that there's no danger of your stitches tearing through the material. You can give it a hearty tug and it holds.

Black stitching along fresh, wet seaweed

The problem is that after stitching a few pieces together to create an experimental sample, I placed it on dry paper and set it in the sun to dry and to my dismay it darkened considerably, with the lovely maroon seaweed turning entirely black. At that point the sample piece was hard and durable like plastic. The good news is that the stitching holes did not enlarge when the piece dried as I had feared, potentially loosening or altogether screwing up the stitching. The stitches retained their integrity; the problem was the disappointing darkening and loss of color.

Dried: very organic looking but disappointingly dark

And then a happy discovery—when held up to the light, the original brilliant colors reemerge. The photo at the very beginning of this post is dried seaweed held up to the light, as are the photos below.

Panel of dried, stitched seaweed, held up to the light

Stitched seaweed held up to the light

Panel of stitched seaweed propped in window

Next steps? Lots and lots of experiments including seaweed shoes, seaweed chandeliers, stitched and molded seaweed, and more. Stay tuned. Meanwhile, the piece above is strongly reminiscent of earlier experiments with fused plastic.

Thursday, December 27, 2012

Fused Plastic Bunting Bombing


Fused plastic bunting

Nothing says, "Yay! It's party time!" quite like colorful bunting. The urge to spread the fun around led to the concept of bunting bombing which, like yarn bombing or seed bombing, is done with a certain amount of stealth and leaves a bit of beauty in its wake.

Bunting strung across window


The first step, however, is the fusing. Fusing plastic for art is different from the technique used to create sturdy, utilitarian objects like tote bags. To see how-to instructions for creating thinly layered, artfully composed fused plastic suitable for bunting, see Fused Plastic Chinese Lantern. When fusing plastic for bunting, you will want to be quite deliberate in placing colorful bits and pieces of plastic in an arrangement that will work well when the piece is cut up into bunting panels. Samples are offered below.

Sample of fused plastic bagging to be cut into bunting panels

Another sample

Once you've finished fusing, you'll want to cut the fused plastic into bunting panels. For the bunting shown in the photos above, two sizes were created based on a 2-inch by 3-inch pattern, or on a 3-inch by 5-inch pattern (the size of a standard index card). Decide on the size of your bunting and create a cardboard template for each of the three bunting shapes.

Cut patterns out of card stock (or start with standard index card as your rectangle)

Place your bunting templates, arranging them over the most colorful areas of the fused plastic. Trace around them with a pencil and cut out your bunting panels. Fold the bunting panels over at the top, pressing firmly to create a crease. Reopen the crease, smear with glue using a glue stick, and fold the panel over a piece of string, pressing at crease line to secure panel to the string. Alternate shapes. Leave plenty of empty string at either end to allow flexibility in hanging and securing your bunting.

Now you're ready to bunting bomb. Below is the copy from a bunting bombing brochure I distributed over Christmas to a gang of bombers, along with strings of fused plastic bunting.


Related Posts with Thumbnails